Blog
HOW TO BLEACH YOUR WEAVE AT HOME

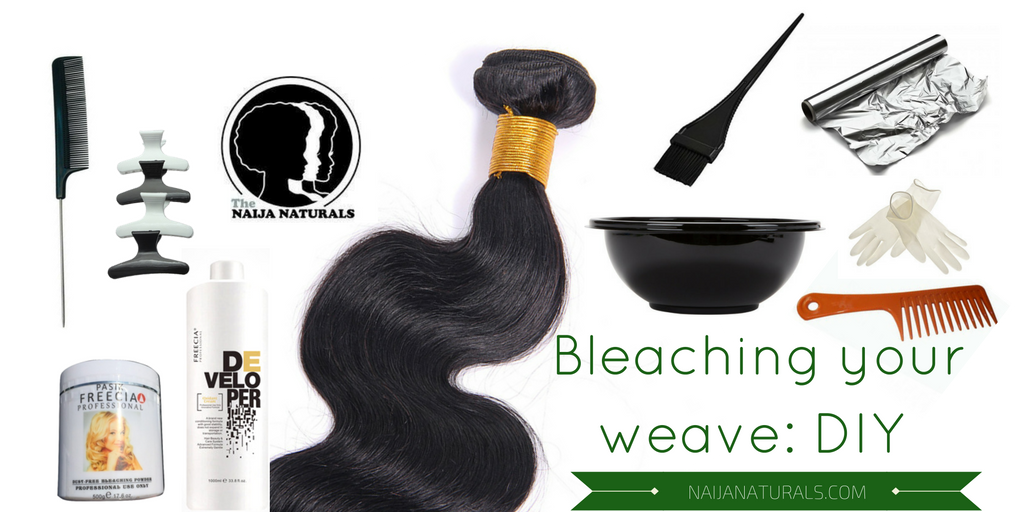
 Items needed:
-Powered Bleach BUY HERE
-Cream Developer BUY HERE
-Applicator Brush BUY HERE
-Mixing bowl BUY HERE
-Butterfly clips BUY HERE
-Foil
-Wide toothcomb
-Neutralizing shampoo
-Protein Treatment
-Gloves

Prep
First take your bundles of virgin Brazilian hair, and detangle with your fingers to make sure the bundle is nice and unraveled. Fold the hair in half and secure it with butterfly clips.
Next you need to mix your bleach. Start off with two scoops in your mixing bowl and eyeball the developer adding just enough for a creamy consistency. Mix it until like that of a cake batter. Once it’s creamy and smooth, you are ready to start.
Application
Now take the mix and start at the ends of the hair, laying the mixture on pretty thick but evenly across the bottom. Make your way up the hair until about midway and then flip the hair extensions over, repeating the same process. After you have done it on that side, flip it one more time to comb through by starting at the top or what some may consider the root, of the hair.
It is very important to make sure you get every crevasse of the hair all the way up to the track, making sure it is completely covered with the bleach mixture. Again, you want it evenly applied on all areas so that you have complete color when everything is said and done. Remember this is achieved by combing the color through. This is important for the actually bleaching process. .
Once you are done applying the mixing, wrap the hair in foil and let it sit for about 15-20 minutes minutes so that the processing of the color/bleaching can take place.
Next, check the hair to ensure it is the color that you want. If satisfied , you can move on to the next step. If not, let it sit a little longer to get what you want.
 Rinse
Rinse
After the color meets your satisfaction, it is time to rinse. This part of the process is extremely important in making sure the chemicals are out (amongst other things) so that you don’t damage your own hair once the tracks are sown in. Rinse, rinse, and rinse again… thoroughly.
After you have done that, apply the neutralizing shampoo. Make sure it is fully saturated and evenly distributed. Once you have rinsed the shampoo from the hair, apply a protein treatment. This is a good practice because you want the hair you are putting on your head to look as natural and healthy as possible and just like our own hair needs a protein treatment, so does the hair extensions for the same purposes. It really helps to keep the hair nice and strong. Allow it to sit for the allotted time, combing through the hair to get good coverage.
Rinsing is obviously a very involved process and one that you should not skimp on. After you apply the protein treatment and rinse it out, you need to also treat the hair with a deep conditioner and a leave in conditioner. Rinse the deep conditioner and comb the leave in through the hair and let dry.
Final Product
When the hair is done, if you want it to be lighter, you would simply go through the process again. Some people look at what it takes to get the hair the way that they want and decide that it is too much, but you have to remember that it will be well worth getting the perfect color. After all, you are going to wear the hair for an ample amount of time and reuse it.
This is a simple DIY (do it yourself process) created for your hair extension wearing pleasure. Follow the instructions and you will have exactly what you are looking for.
Culled from maxtress.


